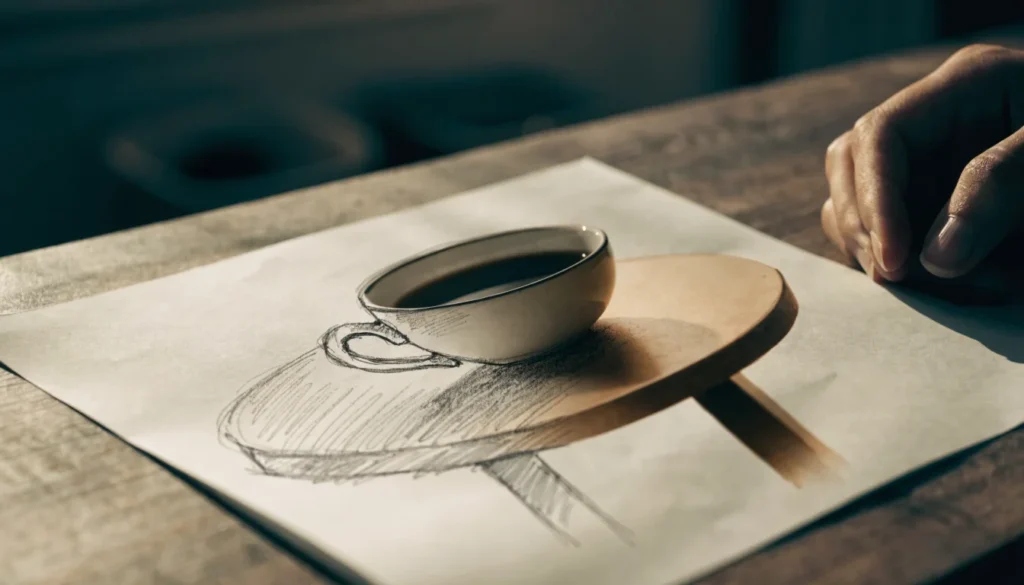
When I started making images with AI, they always looked a little off. A little fake. You know the look: too shiny, strange hands, and text that comes out as broken letters.
For a long time I thought I needed a better tool. I was wrong. The tool was fine. The problem was how I was asking.
The Problem Was Never the Tool
The newest image models, the ones built into ChatGPT, Gemini, and the other big tools, are good enough now to make pictures that look like they came from a real design studio. That is a genuine change from two years ago.
But they only get there if you talk to them the right way. Most people type six words, get something mediocre, and decide AI images are not ready yet. The model was ready. The request was not.
Here is what actually changed my results.
Write a Brief, Not a Wish
Stop asking for a nice image. Give a brief instead.
Talk to it the way you would talk to a designer you just hired. A designer would never accept “make me something nice” as a job. They would ask you questions first:
- What is this picture for? A Facebook post, a flyer, a product page, a slide?
- Who is going to see it? Your customers, your team, a room full of strangers?
- What should someone feel when they look at it? Calm, excited, serious, warm?
Answer those three things inside your request and the result changes immediately. You are not being fussy. You are doing the part the designer used to do for you.
Describe the Scene, Not Just the Subject
This is the one that made the biggest difference for me.
Most people name a thing. “A coffee cup.” The model now has to guess everything else, and its guesses are what make the picture look generic.
Instead, describe the whole scene. Where things sit. What is in front and what is behind. How the light falls.
Compare these two:
- A coffee cup
- A coffee cup on a worn wooden table, morning light coming from the left, soft shadows, a notebook just out of focus behind it
Same tool. Same amount of typing, more or less. Completely different picture. The second one looks like a photograph someone took on purpose. The first looks like a stock image nobody chose.
Keep Text Short, or Leave It Out
If you need words inside the image, keep them short and spell them out clearly.
This is where most people give up, because the letters come out mangled. A full sentence inside an image is still a gamble. Three or four words usually comes out clean.
My honest advice: when you can, leave the text out of the image and add it afterward in Canva or whatever you already use. You get sharp, correct letters every time, and you can change the wording later without making a new picture.
When Something Works, Lock It In
You will eventually hit a version you love. This is the moment most people ruin.
The instinct is to rewrite the whole request to fix the one thing that is slightly wrong. Then the good parts disappear too, and you spend twenty minutes trying to find your way back.
Do the opposite. Keep the request exactly as it is and change only the single detail you want fixed. Change the light, or the angle, or the colour of one object. One thing at a time. That way you keep what was working.
Why This Matters If You Run a Small Business
This is not about making art. It is about not paying someone every time you need a picture.
Think about how often a small business actually needs an image. A post about a new service. A photo for a menu or a price list. A header for an email. A simple ad. Individually none of them justify a designer, so most owners either skip the image or use something generic that makes the business look smaller than it is.
Being able to make a decent image yourself, in four minutes, closes that gap. You still hire a designer for the things that matter most, your logo, your signage, your main website. But the daily stuff you can now handle.
And notice what the actual skill is here. It is not drawing. You do not need any artistic talent at all. The skill is describing what you want clearly enough that someone else could make it. That is a skill you already use every time you explain a job to an employee or a contractor.
How to Try It Today
Take one image you made that felt fine but not good. Do not start over.
Rewrite your request as a short brief with four parts: purpose, style, scene, lighting. Four lines is enough. Run it again and put the two results side by side.
I think the difference will surprise you. It surprised me.
That is usually how it goes with these tools. The gap between a poor result and a good one is almost never the tool. It is how clearly you asked.
Work smarter, not harder.